Sendori Description
Sendori
is an ads-supported program which usually displays
various ads to all brands of web browsers (i.e. Mozilla Firefox, Google Chrome,
and Internet Explorer). It is actually deemed as a potentially unwanted program
because this program aim at making money (i.e. pay-click-revenue), generating
web traffics, and collecting sales leads for other dubious sites.
Here is a screenshot of Sendori Ads.

Sendori is technically not a virus, but it
does exhibit plenty of malicious traits, such as rootkit capabilities to hook
deep into the operating system, browser hijacking, and in general just interfering
with the user experience. Once infected, you can see a lot of Sendori Ads on
the website that you visit. Those ads can deliver you more unwanted program or
service. There is no good to click them. This adware may aggravate burden to your
system and change your various settings. It can also access your system
secretly and perform many bad things on your PC.
Best Ways to Remove Sendori
Sendori often comes bundled with other free programs from the third parties. If you fail to disable it from the installation process, you will need to make more efforts to get rid of it. Here are some suggestions on getting rid of this adware. Please keep reading.>> Click Here for Quick and Efficient Removal Tool
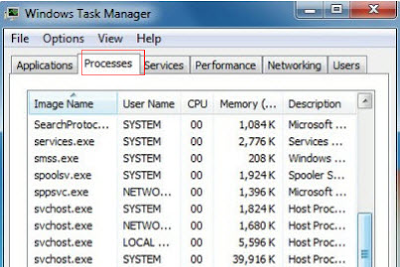
Step
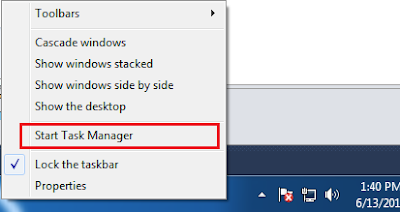
1: End suspicious process in Windows Task Manager.
Right click the blank Windows Taskbar and
select Start Task Manager to open. If your IE is infected and stuck in Sendori,
you should end the main iexplorer.exe. FF and Chrome are respectively
corresponding to firefox.exe and chrome.exe.
Step
2: Remove Sendori from control panel.
Step 3: Erase Sendori from IE.
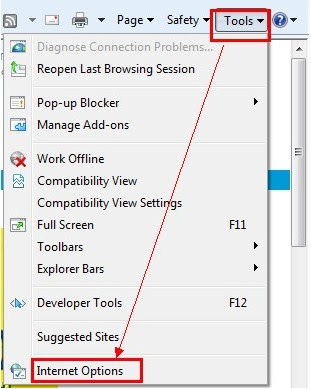
Open Internet Explorer, then click on the gear icon (Tools for Windows XP users) at the top (far right), then select Manage add-ons.
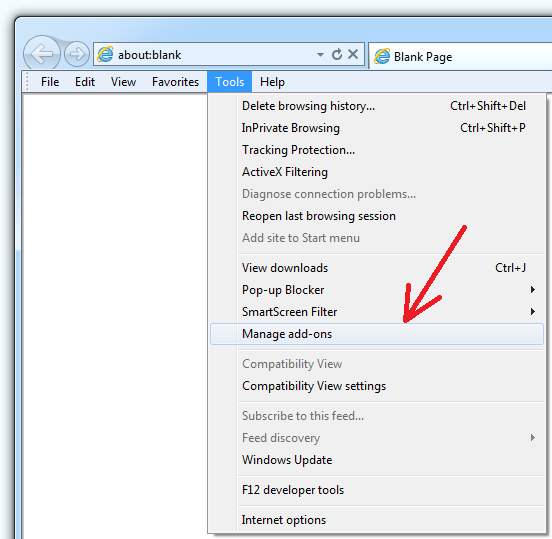
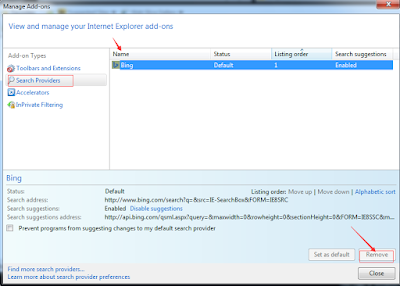
Navigate to Search Providers, remove Sendori from the list and enable the one you want.
Windows 8 & Windows 8.1
- Slide the mouse cursor to the bottom right corner
of your screen.
- Click Settings on the Charm bar and go
to Control Panel.
- Select Uninstall a program and remove Search
Protect (Trovi Search).
Windows Vista & Windows 7
- Open the Start menu and click Control Panel.
- Go to Uninstall a program and remove Search
Protect (Trovi Search).
Windows XP
- Open the Start menu and navigate to Control Panel.
- Select Add or remove programs and uninstall Search Protect (Trovi Search).
Step 3: Erase Sendori from IE.
Open Internet Explorer, then click on the gear icon (Tools for Windows XP users) at the top (far right), then select Manage add-ons.
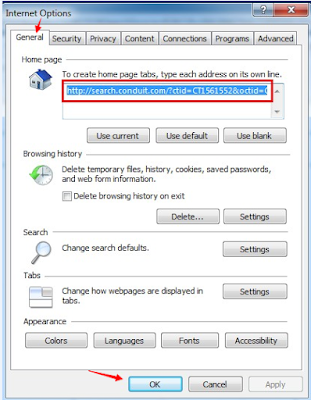
Follow the pictures below to get back your Home Page. If you fail to remove this website, you can reset your browser settings.
Delete random URL in the homepage box and type in www.google.com or other.
Step
3: Delete Sendori from FF.
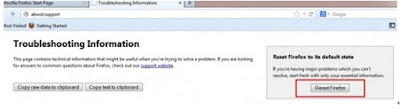
Open Firefox, press Alt + H, and select Troubleshooting Information > Refresh...
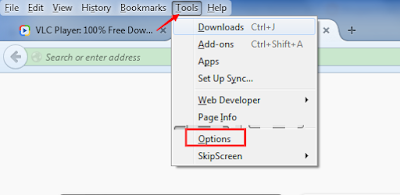
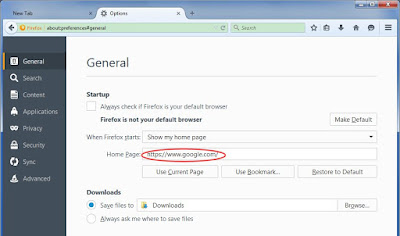
Open Firefox, simultaneously tap Alt+T keys and select Options. Click the General tab and move to the Home Page. Type in www.google.com or other. and click OK.
Open Firefox, press Alt + H, and select Troubleshooting Information > Refresh...
Step
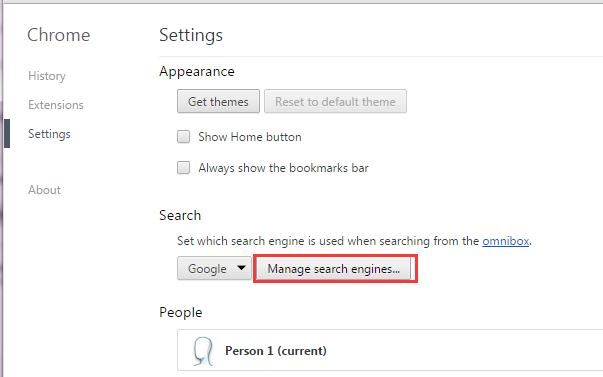
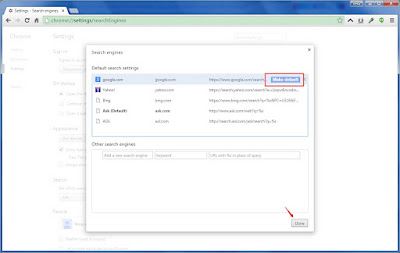
4: Erase Sendori from Chrome.
Suggestion 3: Automatically Remove Sendori with SpyHunter
SpyHunter has the ability to detect and remove rootkits, which are used to stealth install rogue anti-spyware programs and other trojans. It is designed to assist the average computer user in protecting their PC from malicious threats. Maybe the inexperience users can get help from it. If you find it hard to remove with the manual removal instruction, you can also use this automatic removal tool.


SpyHunter responds with advanced technology to stay one step ahead of today’s malware threats. It offers additional customization capabilities to ensure every user is able to custom tailor this anti-malware application to fit their specific needs. It is great if you remove the threats on your own. If you cannot make it yourself, SpyHunter will be another choice for you.
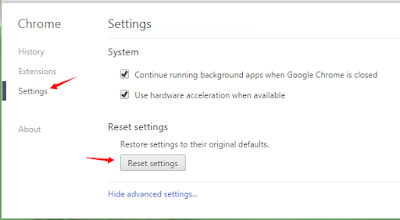
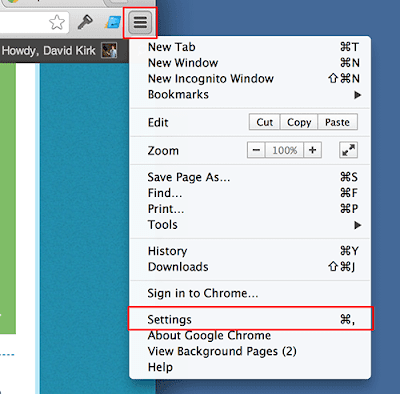
Click on the Customize icon(wrench or 3 bar icon) next to the address bar. Select Settings from the drop-down list and then navigate to Search > Manage search engines…Click X on the URL of the search tool you want to remove. Click Done.
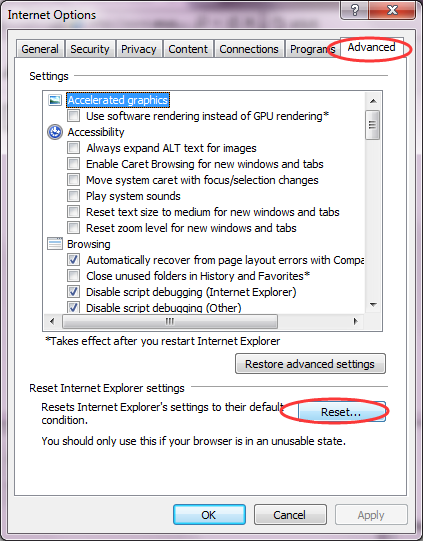
Find Show advanced settings...and then go to Reset settings.
Suggestion 3: Automatically Remove Sendori with SpyHunter
SpyHunter's free scanner is for malware
detection. You have the choice of buying SpyHunter for malware removal. Here are some install procedures for it. You can read it for reference.
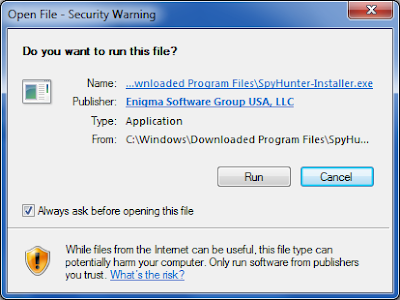
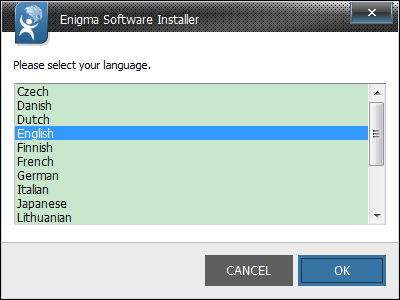
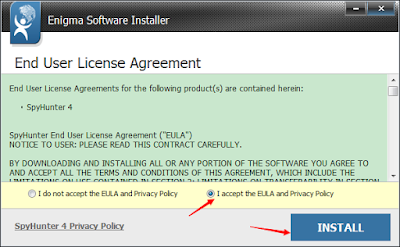
Step 1: After finishing downloading, click Run to install SpyHunter step by step.
...
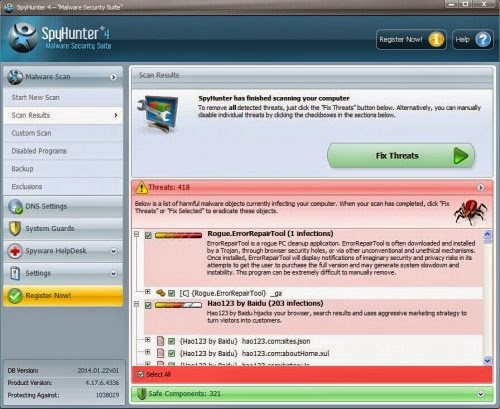
Step 2: After finishing installing, SpyHunter will scan and diagnose your entire system automatically.
Step 3: As the scanning is complete, all detected threats will be listed out. Then, you can click on “Fix Threats” to remove all of the threats found in your system.
Good to know:
No comments:
Post a Comment