What is Ads by CloudGuard?
Ads by CloudGuard is categorized as an adware which can will display you coupons, special deals, advertising banners to trick you to pay for the products especially when you are visiting the online shopping sites like Ebay, Walt-mart, Amazon, etc. it is claimed to save your money and time by displaying you the related ads, in fact , it seems intrusive for it always pops up on your computer no matter you want it or not.
To live with this adware, your will find that your computer is running oddly and sluggish:
1.Computer is running slower and slower than before
2.It can modify your default browser settings to make your system vulnerable for other computer threats.
3.Keep it longer, more useless toolbars or browser extensions are coming into your computer.
4.It can collect your search terms from your search inquiry to provide you the related products.
Many computer users would ask how they get into my computer with my knowledge. Usually they can get into your computer via the ways below:
1.Downloading free software from unsafe websites
2.Opening spam email attachments
7.Getting fake Java updates
3.Visiting questionable websites
Still don’t know how to remove it completely? No worries, you are welcome to follow the removal guide listed below:
Solution one:Step by Step Guide to Manually Remove Ads by CloudGuard
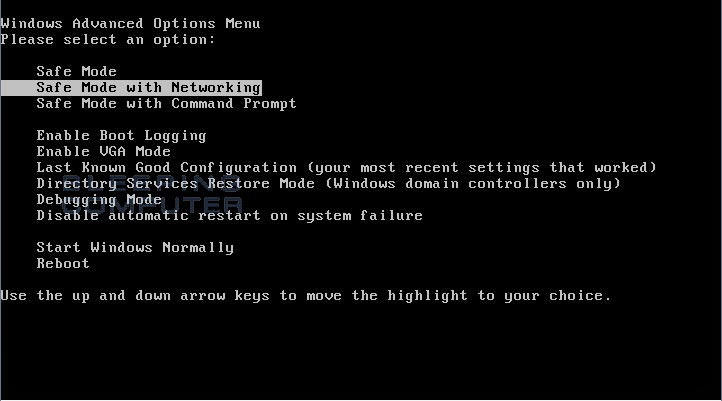
Step 1- Boot your computer into "safe mode with networking" by constantly tapping F8 key until Windows Advanced Options menu shows up.
Step 2- Reset Internet Explorer by the following guide (take IE as an example):
Open Internet Explorer >> Click on Tools >> Click on Internet Options >> In the Internet Options window click on the Connections tab >> Then click on the LAN settings button>> Uncheck the check box labeled “Use a proxy server for your LAN” under the Proxy Server section and press OK.
Step 3- Disable any suspicious startup items that are made by infections from Ads by CloudGuard.
For Windows Xp: Click Start menu -> click Run -> type: msconfig in the Run box -> click Ok to open the System Configuration Utility -> Disable all possible startup items generated from Ads by CloudGuard.
For Windows Vista or Windows7: click start menu->type msconfig in the search bar -> open System Configuration Utility -> Disable all possible startup items generated from Ads by CloudGuard.
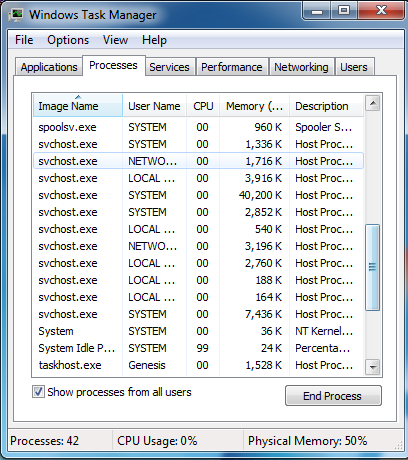
Step 4- Open Windows Task Manager and close all running processes.
( Methods to open Task Manager: Press CTRL+ALT+DEL or CTRL+SHIFT+ESC or Press the Start button->click on the Run option->Type in taskmgr and press OK.)
Step 5- Remove these associated Files on your hard drive such as:
%Windir%\temp\random.exe
%Windir%\Temp\random
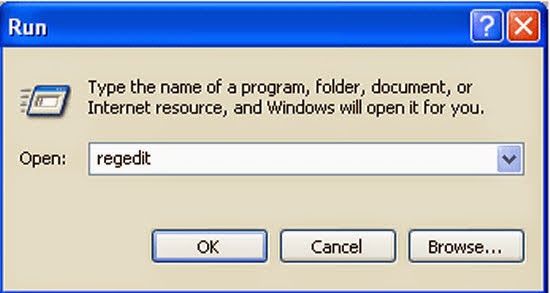
Step 6- Open the Registry Editor and delete the following entries:
(Steps: Hit Win+R keys and then type regedit in Run box and click on OK)

HKLM|HKCU]\SOFTWARE\Microsoft\Windows NT\CurrentVersion\Winlogon\Userinit
HKLM|HKCU]\SOFTWARE\Microsoft\Windows\CurrentVersion\Run\random
Step 7-Restart your computer normally to check whether there is still redirection while browsing.
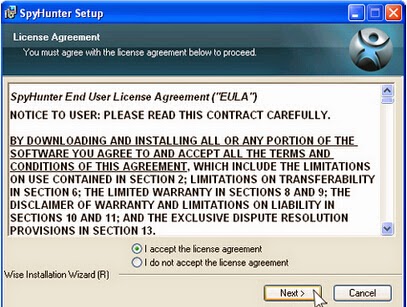
Solution two: Get rid of Ads by CloudGuard by automatic scan of SpyHunter removal tool
SpyHunter is a powerfulautomatic removal tool which can help users to clean up the infections like worms, Trojans, rootkits, rogues, dialers, spyware,etc. It is important to note that SpyHunter removal tool can get along with existing security programs without any conflicts.
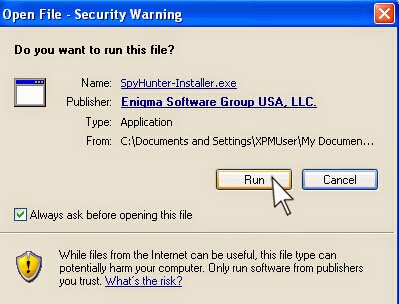
Step one: Click the icon to download SpyHunter removal tool

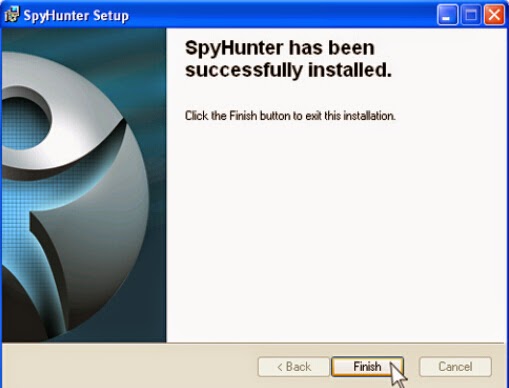
Step two: After the installation, run SpyHunter and click “Malware Scan” button to have a full or quick scan on your PC
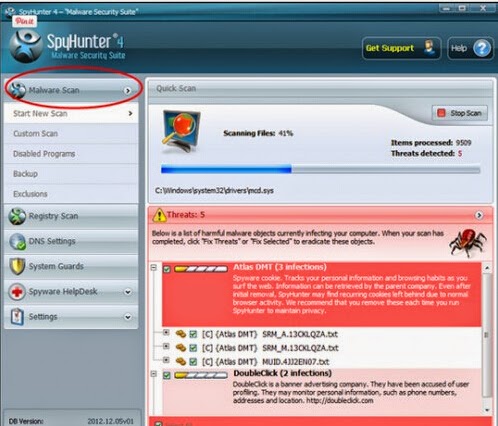
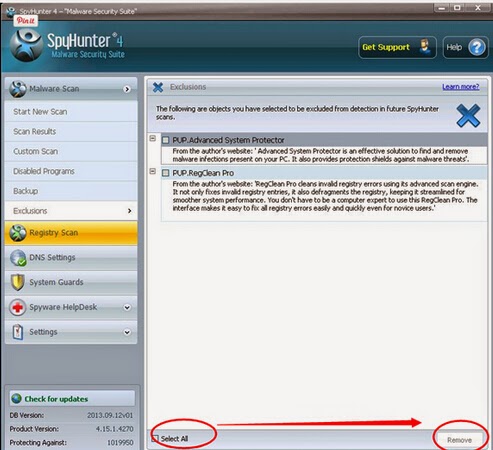
Step three: Select the detected malicious files after your scanning and click “Remove” button to clean up all viruses.
Note: if you are not a computer geek, you are welcome to download Spyhunter automatic removal tool to get rid of it immediately!
No comments:
Post a Comment