What is SalesChecker?
Do you know more about SalesChecker adware? What is it? SalesChecker is classified as an useless browser extension or potential unwanted program which can target almost all the web browser like Internet Explorer, Firefox, Google Chrome, Safari, etc. with this SalesChecker on your computer, it can automatically pop up unwanted ads without your consent no matter you doing Google Search or visiting specific websites.
Many computer users have tried to remove the SalesChecker on their own and they have done an uninstall but why they still get the annoying pop up ads all the time? Because this SalesChecker pop-up can disguise its related files and use the rookit technology to hook deep into your system to violate the easy removal. With this SalesChecker on your computer, it can automatically open a new tab every time you launch your web browser.
Symptoms Infected by SalesChecker Adware
• It can occupy your precious system resource to slow down your overall computer performance.
• It can track and store your online traces to violate your privacy and may steal your personal information.
• It can invite other malware to come to your compromise your computer.
• It can turn your text into hyperlink and may change your computer background.
SpyHunter is a powerful, real-time anti-spyware application that designed to help computer users to clean up the infections like worms, Trojans, rootkits, rogues, dialers, spyware,etc. It is important to note that SpyHunter removal tool works well and should run alongside existing security programs without any conflicts.
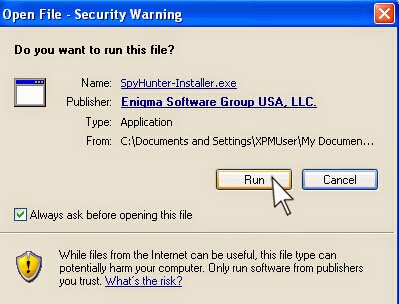
Step one: Click the icon to download SpyHunter removal tool

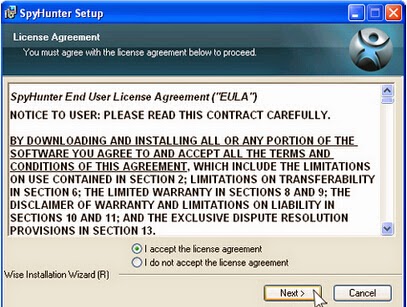
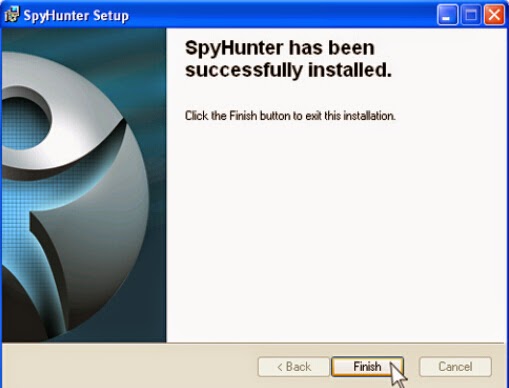
Step two: After the installation, run SpyHunter and click “Malware Scan” button to have a full or quick scan on your PC
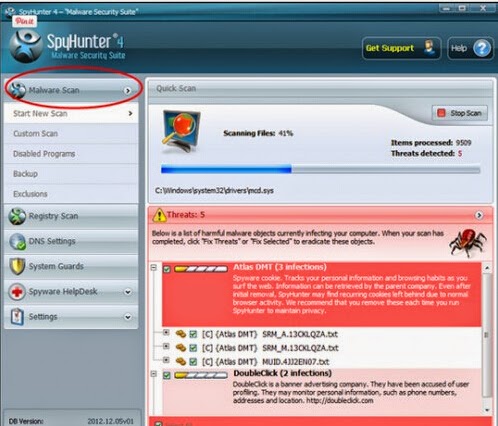
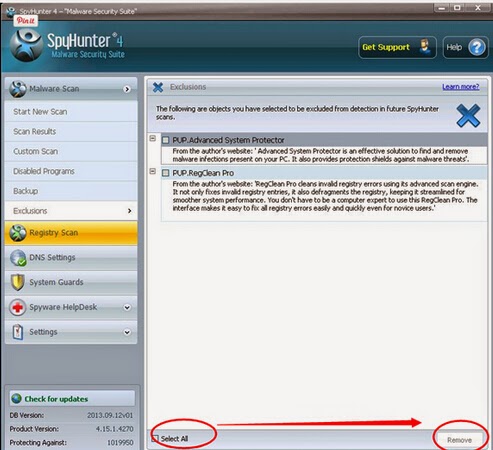
Step three: Select the detected malicious files after your scanning and click “Remove” button to clean up all viruses.
No comments:
Post a Comment